Virtual Try-On integration to custom e-shop
We offer a ready-to-use plugin for all the most popular e-commerce platforms with which you have almost no work. Still, if your website runs on a custom-made e-commerce solution, this manual will guide you step-by-step to integrate the Virtual Try-On successfully.
You can look in our Demo store to see how the result of your work can look.
Integration of the Virtual Try-On
The Virtual Try-On is a plugin that you can place in the catalog (product listing) or in the product page.
Place the following code in your page's footer before the closing </body> tag and replace the "API_KEY" with your actual data. You can find these data in your profile settings in the Auglio Client Dashboard.
<script src="//m.auglio.com/API_KEY" async></script>Now you should see the icon of the Virtual Try-On in the bottom left corner of your website.
The Virtual Try-On icon options
The plugin's icon is always visible by default (in the bottom left corner). If you'd like to make this icon visible only if there's at least one integrated product on the page with a correctly set "Try on" button, please follow these steps:
- Navigate to your account
- Go to Integration > App settings
- In the "Behavior" section turn on the "Show Virtual Mirror only on pages with Try On button" toggle
- Click SAVE SETTINGS
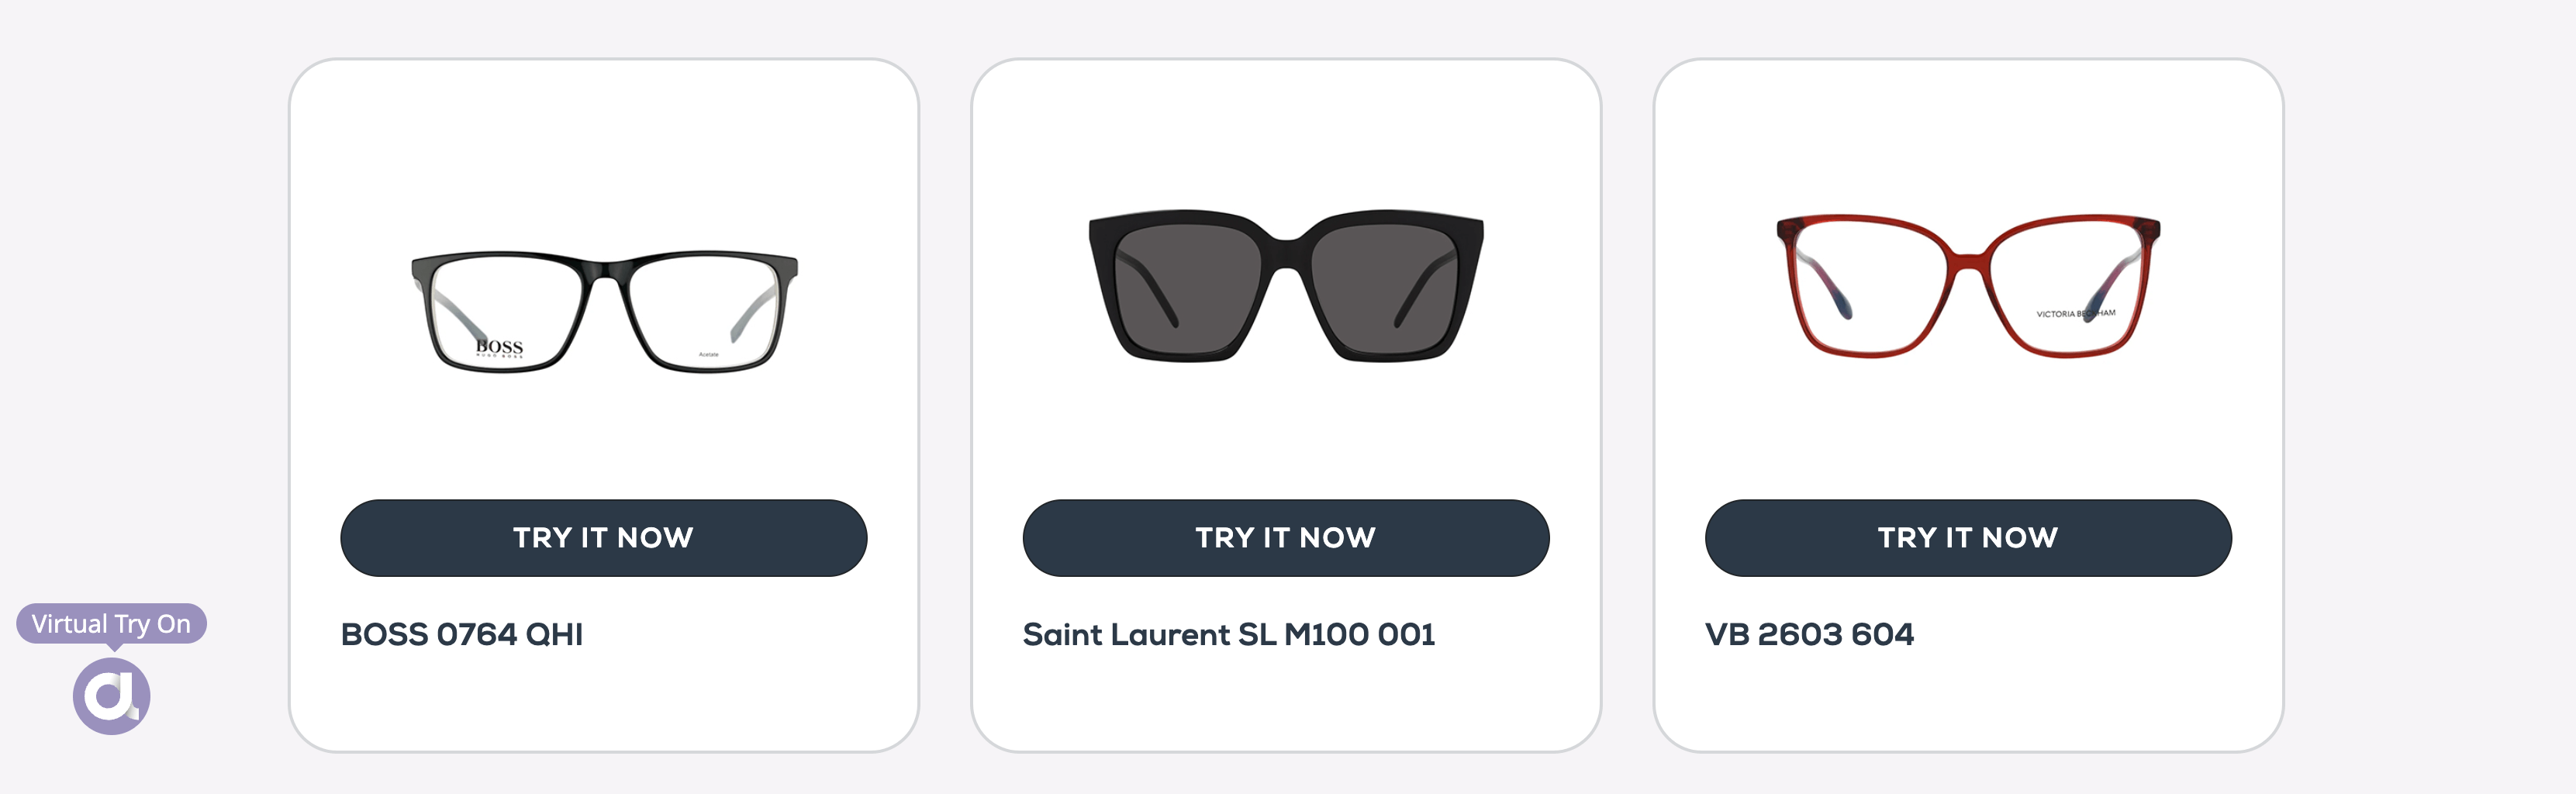
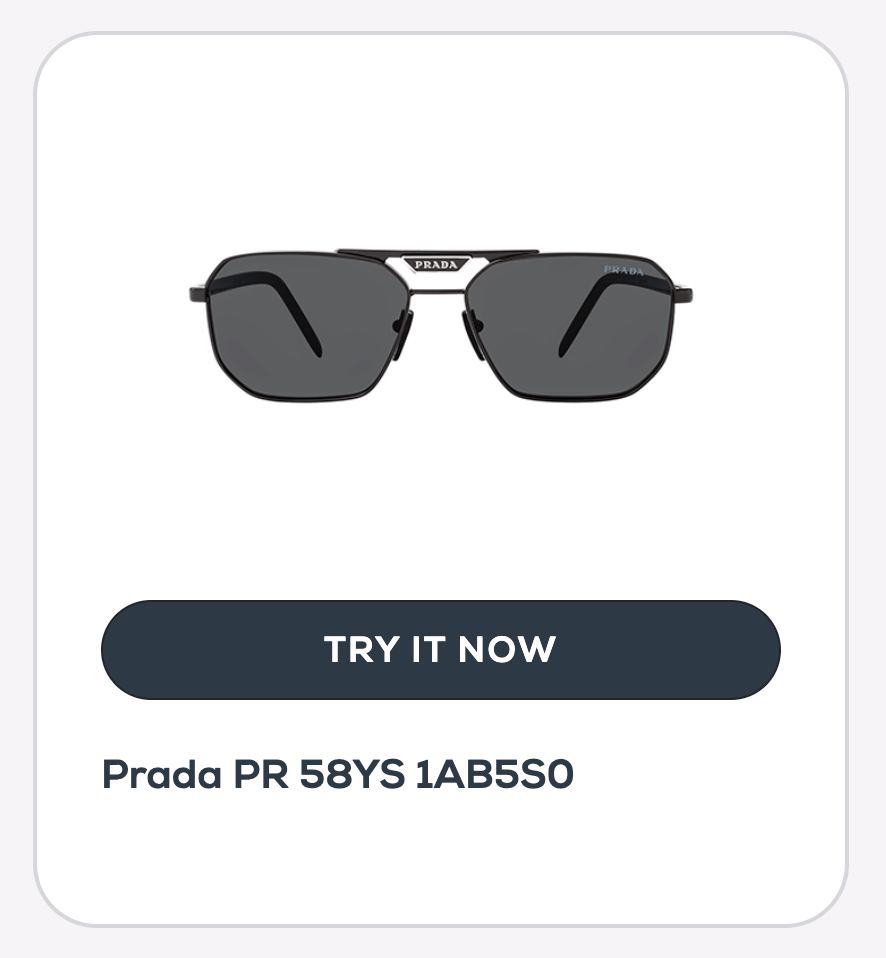
"Try on" button
The "Try on" button launches the Virtual Try-On plugin and applies the product on a model or a customer's photo (eventually on a customer's face in a Live mode). To let the Virtual Try-On know, which product should be applied on click, you will have to set a data-item_id attribute for that button.
<button class="auglio-tryon-btn" style="display: none;" data-item_id="YOUR PRODUCT'S ID">Virtual Try On</button>The only required parameters of a "Try on" button are:
- auglio-tryon-btn class
- data-item_id attribute with a value set according to the product's Item ID (Learn more about Item IDs and importing your products)
We strongly recommend keeping this button hidden by default, as while the Virtual Try-On is initializing, all the "Try on" buttons found on a page are being checked. The button will appear if there's a match with your integrated products.
You can also add any classes, styling, or text to make the button fit into your design.