How to implement a seamless virtual try-on setup for your custom platform
As online shopping continues to evolve, one thing remains clear—shoppers want confidence before they commit. That’s where Virtual Try-On (VTO) technology comes in.
At Auglio, we’ve helped brands across industries implement scalable, high-performing virtual try on setups tailored to their platforms. Whether you sell eyewear, makeup, headwear, or accessories, integrating VTO can significantly enhance product interaction, reduce returns, and drive conversion.
Here’s a complete guide to getting your VTO up and running on a custom e-commerce store.
Step 1: Adding the Try-On Script
The core of any VTO functionality is the try-on script—essentially the engine that powers the experience. This lightweight JavaScript snippet enables camera access, face tracking, and product overlay capabilities on your site.
Once provided by Auglio, this script should be embedded within your site’s global header or product page template. It loads asynchronously to ensure it doesn’t slow down other elements of your page. Developers can easily configure the script to conditionally load based on device compatibility, page type, or user preferences.
It’s also GDPR- and CCPA-compliant, meaning you can collect necessary consents before activating the camera—essential for legal and UX reasons.
Step 2: Creating the Product Database
Once the script is live, the next step is preparing your product database. This is not just a standard product feed—it must include metadata tailored for the VTO experience.
Each product should have:
-
Clean, high-resolution images with transparent backgrounds
-
SKUs and variant mappings (for sizes, colors, etc.)
-
Product category tags (e.g., sunglasses, lipstick, caps)
-
Optional AR-specific fields like alignment offsets or scaling ratios
Auglio supports spreadsheet imports, custom CMS integrations, or manual entry through a partner dashboard. The more structured and accurate your product data, the more realistic and responsive the virtual try-on will be.
Step 3: Sharing Integration Examples
Before moving forward with front-end styling, we recommend reviewing real-world examples of existing integrations. This step helps you visualize best practices and avoid common design mistakes.
We provide partners with:
-
Example stores across verticals (eyewear, beauty, fashion)
-
Access to staging demos or code snippets
-
Insights into UI layouts that drive higher engagement
This ensures you’re not building blind—your developers and designers can model your implementation after proven, high-converting experiences.
Step 4: Integrating the Try-On Button
With inspiration and backend systems ready, it’s time to implement the VTO button on your product pages. This button is the entry point for users to launch the experience—so it needs to be clear, inviting, and strategically placed.
We suggest placing it:
-
Near the “Add to Cart” button or image carousel
-
Styled with bold text like “Try it On” or “See it Live”
-
Designed for visibility on mobile and desktop
You can also track clicks via analytics to measure how the button influences user engagement and conversions.
For platforms using React or Vue, we provide ready-to-use components. For others, the button can be initialized with a simple HTML attribute or JavaScript event listener.
Step 5: Sending Preview for Approval
Once the try-on script, product data, and UI are connected, we generate a working preview of the VTO integration. This internal staging environment lets you experience the feature from a shopper’s perspective before it goes live.
This preview phase is crucial for testing:
-
Camera access and privacy prompts
-
Real-time rendering accuracy
-
Product alignment on various face shapes
-
Site load speed and VTO interface responsiveness
Our team conducts a collaborative review session, providing visual feedback and optimization suggestions to ensure your virtual try on setup is flawless from day one.
Step 6: Creating Try-On Ready Products
Beyond the technical layer, you’ll also be crafting the visual content that brings your products to life in AR. These assets must be optimized for digital wearability and realism.
This includes:
-
Transparent PNGs or 3D models
-
Accurate scaling based on real-world dimensions
-
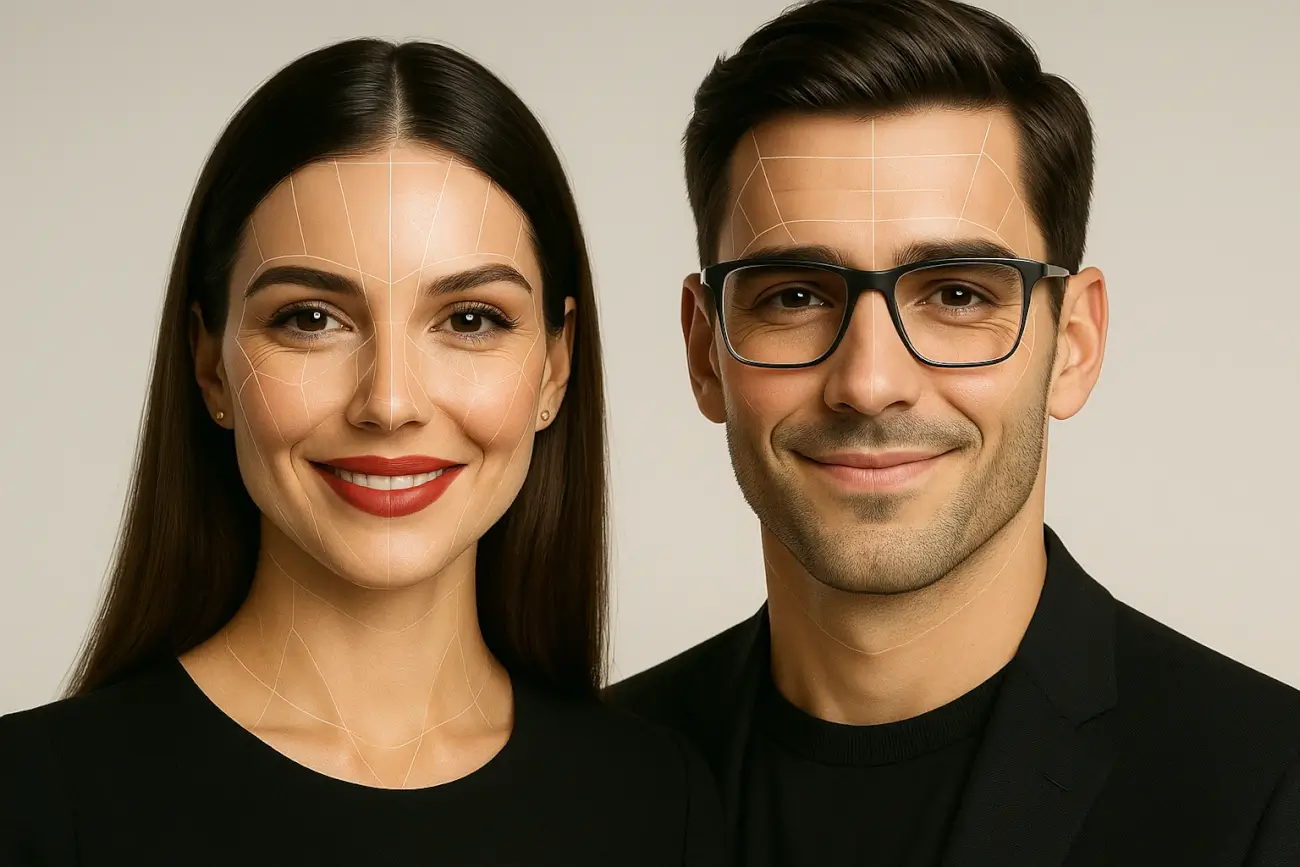
Proper alignment to facial landmarks (eyes, lips, nose, ears)
For cosmetics, this means mapping lipstick to lips with perfect blending. For eyewear, it means realistic shadows and temple alignment. Our partner platform allows you to upload, preview, and fine-tune these assets with immediate feedback.
We also support versioning, so you can test variations of product visuals to find what converts best.
Step 7: Launching the Experience
With everything approved, it’s time to launch your VTO feature on the live store.
Before going public, we recommend running a final checklist:
-
Confirm the try-on works on Chrome, Safari, Firefox, and mobile browsers
-
Verify tracking pixels and event analytics are firing correctly
-
Ensure fallback behavior is in place for unsupported devices
Once these tests pass, activate the VTO button across your product catalog and promote it in banners, emails, and on social media.
This is the moment where your virtual try on setup becomes a shopper’s superpower—letting them interact, experiment, and decide with confidence.
Step 8: Submitting Products for Final Approval
After the VTO goes live, we conduct a post-launch audit of your product visuals. This final QA ensures each item appears naturally in varied lighting conditions and on different facial structures.
Our checks include:
-
Shadow accuracy and reflection behavior
-
Rotation consistency and nose bridge alignment
-
Multi-variant switching (e.g., changing lipstick shades or sunglass colors)
We provide side-by-side visual reports, annotated screenshots, or even session recordings to highlight any improvements needed. This phase polishes the experience and ensures long-term visual performance.
Step 9: Ongoing Optimization
The integration may be complete, but optimization is where VTO really shines.
Auglio’s analytics tools allow you to measure:
-
Try-on engagement per product
-
Conversion rates of VTO-enabled vs. non-VTO products
-
User interactions by region, device, or gender
Use this data to refine your visuals, reposition buttons, expand your product range, or create targeted campaigns around top-performing items.
Ongoing optimization transforms your virtual try on setup from a tech feature into a growth engine.
Integrating VTO into a custom platform might seem complex—but with the right partner and a clear process, it becomes both manageable and rewarding.
At Auglio, we specialize in making virtual try-on simple, scalable, and stunning. From script to product creation to go-live and optimization, we’re here to guide you every step of the way.
Ready to enhance your e-commerce experience with AR?
Contact us to kickstart your virtual try on setup today.


